This year, with all the children no longer needing mum 24/7 I have been able to get back into one of the things I enjoy, gardening.
For my birthday Asa and the children bought me a lovely wooden greenhouse, some people may think its not very romantic, but I love it!
This year I have planted beans and peas in the vegetable patch and my greenhouse has delivered some wonderful tomatoes and it’s currently housing lots of chillies and peppers.
Our strawberry plants have gone crazy this year, in fact they have burst out of their bed, so I needed somewhere to house them that would allow lots of light but not let in all the very delightful bugs that seem to want to share my strawberries.
So you can imagine my excitement (I know, i’m getting old!) when First Tunnels got in contact to see if I would like to review a Mini Polytunnel, I of course said yes, and chose the 10ft x 4ft and opted for netting as I don’t require starting the plants from new, I just need somewhere to protect my strawberry plants.
I’m not quite sure what I was expecting, but it certainly wasn’t such a substantial tunnel, when I think of a mini polytunnel, I had visions of some flimsy little thing that may hold up in a slight breeze, I certainly wasn’t expecting this beauty.
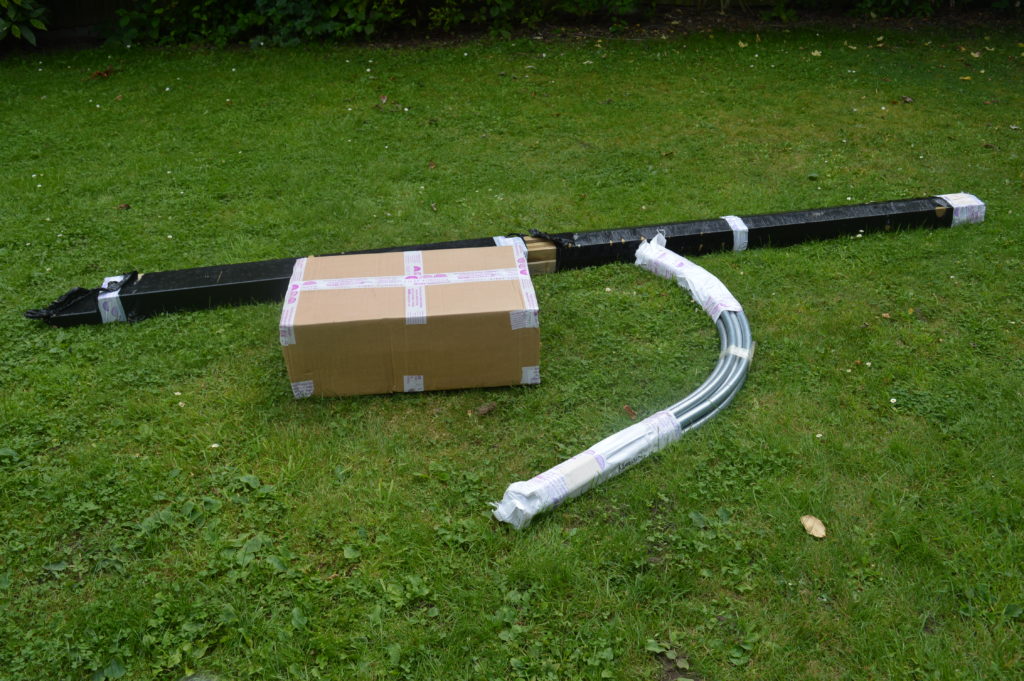
The black package contains the wood, I had to get my teenage son to lift it up the garden for me, and the delivery driver wasn’t too pleased about it either!
I opened the box and located the instructions, which were very comprehensive, but easy to understand. I had the job of reading out the instructions, step-by-step, as Asa is one of those that whizzes through and then wonders why he has pieces or screws left over at the end! Lochlan helped Asa with the trickier parts.
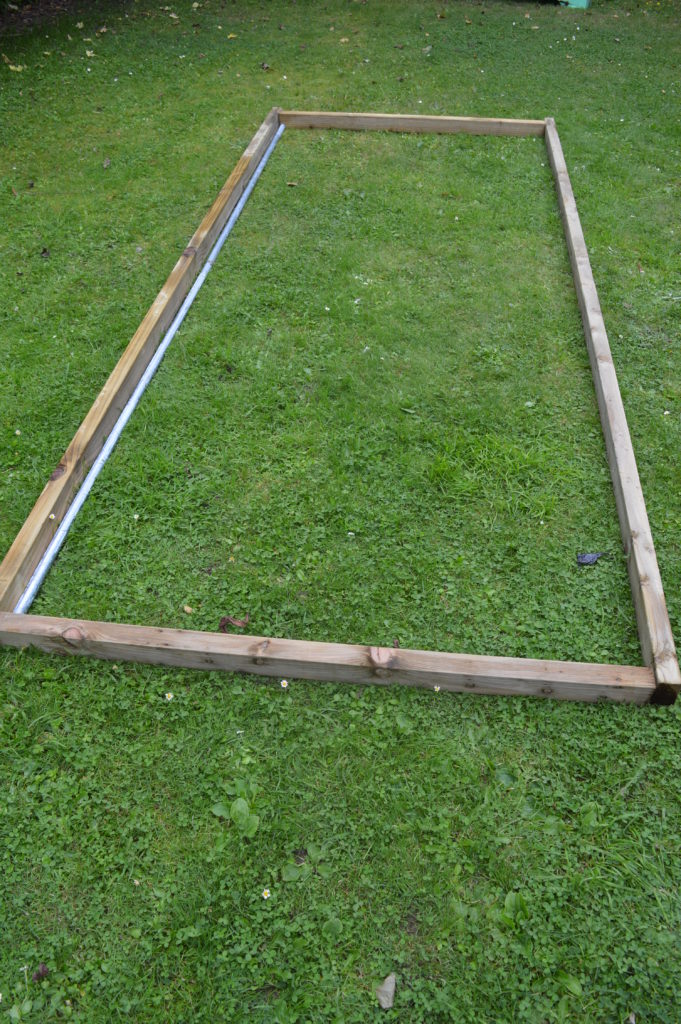
The first part involves making the frame for the bottom, some cutting of wood is required, so you will need a saw and a large screwdriver/drill. All of the parts are labelled in the instructions and there are three separate bags full of the screws/brackets etc.
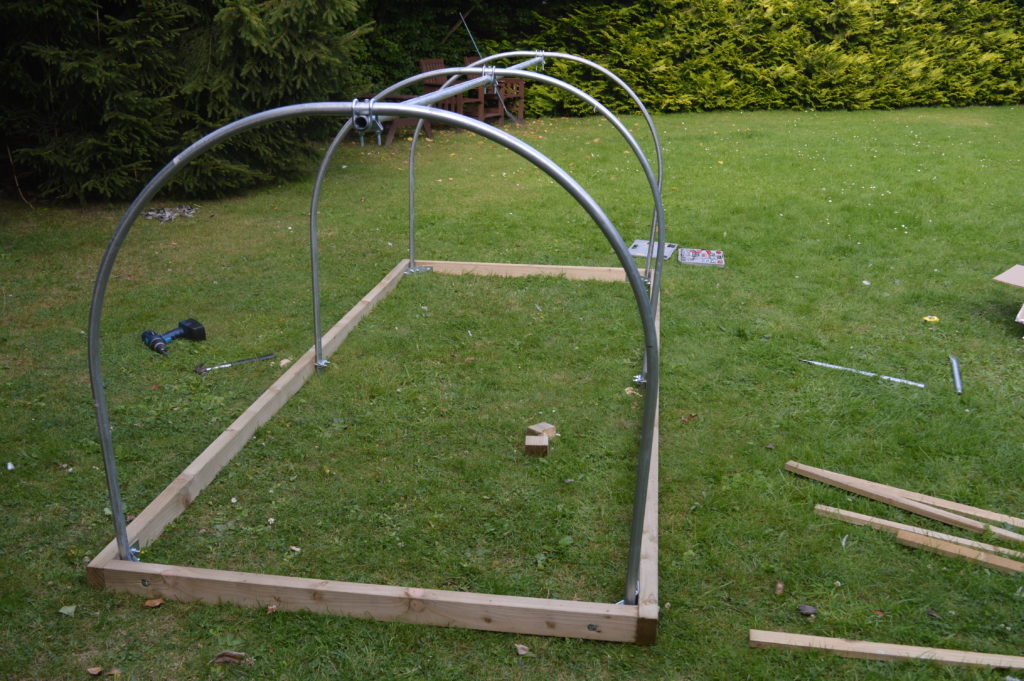
Then you assemble the metal poles together and attach to the wooden frame, it went together really easily and was up in no time.
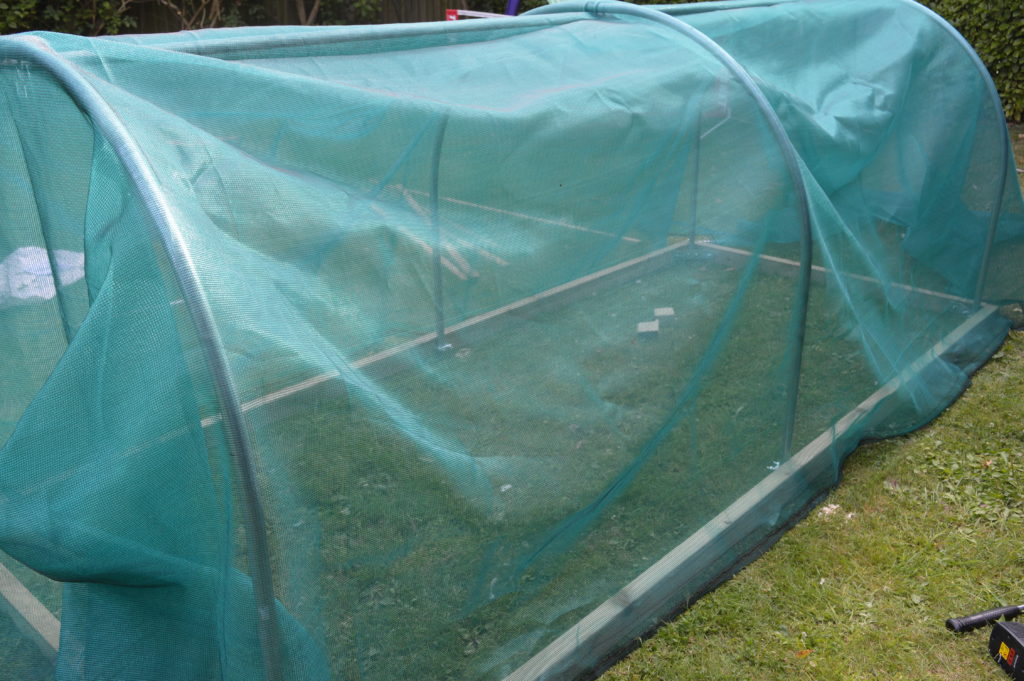
Then you assemble the netting over the top and secure it with the wood at the bottom, I have yet to do this as I am in the middle of moving all of the strawberries from their tiny home and sorting out the vegetable patch to house the Polytunnel, but the instructions are straight forward and it will all be in place ready for when the colder weather arrives.
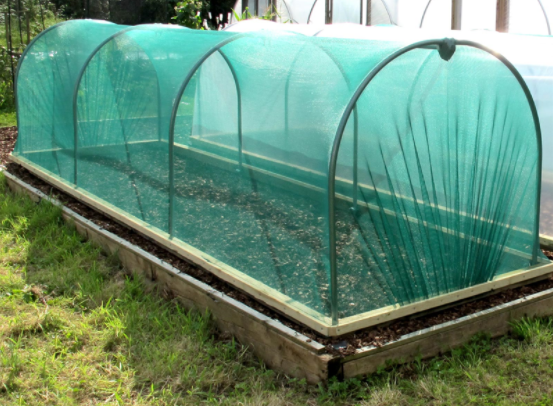
Here you can see what the Polytunnel will look like when it’s complete.
My thoughts:
I absolutely love it, I cannot wait for it to take pride of place in my vegetable patch, I am sure that the strawberries will be very at home under there, and the great thing about this one is that it isn’t too big, so if I wanted to move it to a different part of the garden, I can, very easily.
I was sent this product to review, all thoughts and opinions are my own.
