Everyone loves to decorate their home in the way they like. It is one place where you feel utmost comfort after a hectic day. So, it should be decorated in such a way that it gives you a happy feeling once you enter. The house that is aesthetically painted reflects your personality and makes you feel relaxed.
If you are planning to enhance the paint of your house, then using textured render finish on the walls can be a great idea. It adds beauty and elegance to the walls. Once applied, you will find that your walls have become lively. There are many advantages of using this for your walls like a it’s a durable option, easy to maintain, energy efficient, avoid damp penetration, etc.
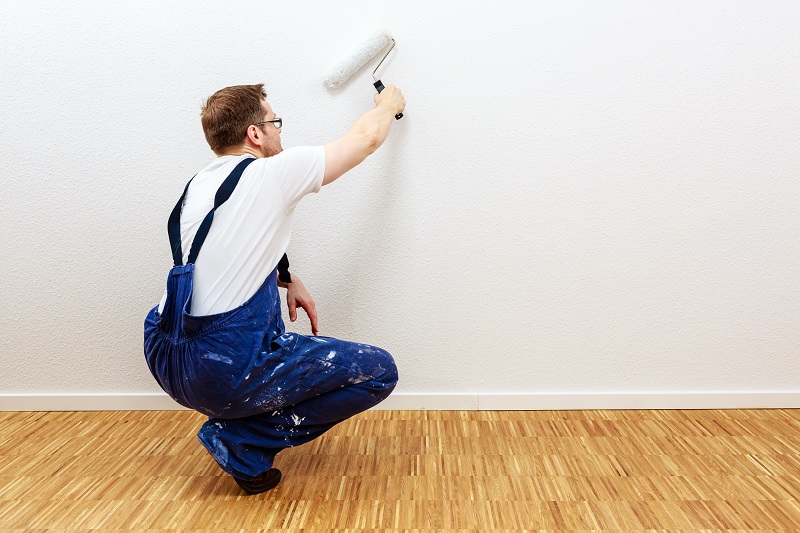
In case you are planning to use a textured finish for painting your home, then you would be happy to know DIY method will be the best for the same. When you want to Dao it on your own, firstly you will have to choose which finish you would like to select.
Factors To Consider For Choosing Textured Render Finish:
Age of the house
The material you choose extensively depends on the age of your house. Choice of texture, preparation of the finish and maintenance largely depends on this factor.
Basic material
The basic material you select must be durable and quality oriented. It is only then you will be able to have a beautiful finish.
Tips to apply textured render finish to your walls

If you want to paint this finish on your wall by yourself then here are some of the tips to help you out:
- Firstly, clean the walls as it should be dirt and dust free. If there are any stains of grease or other such particles it should be removed. Also, the earlier paint of the wall should be scrapped out. You will not be able to get a proper finish if there are any particles over the concrete walls.

- After this, a suitable plaster-based cement coating must be uniformly applied over the walls. It acts as a perfect base for the render finish to get an awesome look. Plaster base is necessary for the exterior walls as it helps in resisting heavy rains, sunlight, and storms. Also, it makes your indoors sound and heat proof.
- You need to mix the right amount of water into the cement so that the required thickness can be gained. The plaster coating must be kept for drying for around 24 hours. It is only then textured render should be applied.
- The textured render finish that you have selected should be mixed with the plastering sand. Make sure that the plastering sand is of high quality. For mixing these you need to use a wheelbarrow or a cement mixer or a concrete slab. Before getting started, make sure you read the guidelines mentioned on the pack.
- You need to mix all the dry material so that uniformity can be gained in the color. After this, you need to add some water which helps in getting a paste-like texture. For applying this on the walls you need to use steel float. To get a clean finish you can put timber battens of the needed thickness.
With the help of flat edge metallic leveler, you should remove the excessive render. For having a smooth surface, you can again use steel float. If the textured render finish that you want to have requires many layers then it must be left to dry for three straight days. These are the tips that can help you carry out textured render finish for your walls on your own.
Author bio: Anna Wrench is a knowledgeable and qualified blogger. Here you can see her skills which give you brief ideas on understanding all the concepts with different themes. I adore writing a blog on many topics, like Home Improvement, Automotive, Business, Health, Lifestyle, Entertainment, Pet, etc.


